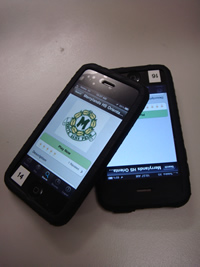
For the past 5 months I’ve been coordinating a team of 10 students to design a mobile geolocation game for mobile devices. The game is built on Aris and is designed for Year 6 Orientation Day. The team of 10 students consisted of students in years 9, 10 and 11 (15 to 17 year olds) who were part of a student-led technology team.
The team was divided into students taking on different roles. Two students were the main programmers in Aris, three students were narrative writers for the game and five students were media collectors and collected images and photos for the game. The narrative writers came up with the following as the main narrative that ran through the game:
My older sibling just left MHS and apparently he left me notes around the school for me to use to get around the school without any trouble. Now all I need to do is find the notes.
My older sibling’s friends said that these notes are crucial for me to find my way around the school; so therefore I won’t get in trouble from any teachers for being late to class.
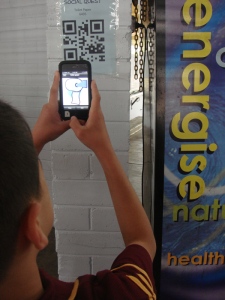
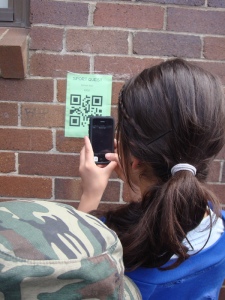
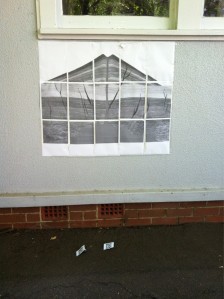
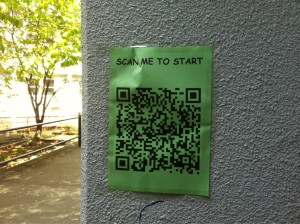
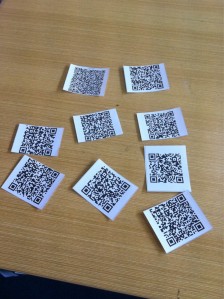
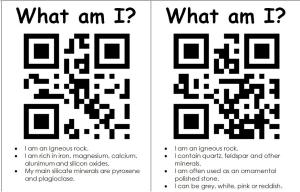
The team designed seven quests based on this storyline. All quests related to major landmarks of the school that Year 6s would need to know when they enter high school. Each quest contains four items that students collect by scanning QR codes. After they have collected all the items for a quest, they go to the school’s assembly area to “exchange” their items with a quest “guardian”, who gives them a badge. Students need to collect all seven badges to receive a medallion and win the game. Here are some of the quests’ storylines:
SOCIAL QUEST
The bell has gone for recess.
The first thing you need to do is to visit the toilets. Visit both the boys and girls toilets. Then find the toilet and collect toilet paper code. Find the toilet and collect soap code. Then head towards the canteen. This place is where you buy food for recess or lunch. There are also seating areas. Near the windows you will find a food code. Go and eat on the Quad and then put your rubbish in the bin. Go to the podium where the assembly takes place, to scan the appropriate guardian to receive your badge.
SPORT QUEST
The bell rings for your next class. You stare at your timetable and notice that you have PE prac. You are unsure of where to go. You see a bunch of people going towards the back end of the school and you ask one of them where is the PE meeting area, They tell you the PE meeting area is just there where all the silver seats are at the back of the school. Go to the silver seats and you should find a basketball code.
After you meet your PE teacher, you need to change into your sports uniform. Go to the change rooms behind the hall to find the sneakers code. After you get changed, go to the hall and find the hockey stick code. Then go to the fields to find the soccer code. Finally go to the podium where assembly takes place, to scan the appropriate guardian to receive your badge.
The game was a success! There were some initial glitches that the students fixed during the day.
For me, this experience is much more than making a game and playing a game on iPhones. Watching the students create the game has shown me how much young people can thrive when given a challenging task in a stimulating environment. Something that traditional classroom experiences can’t offer.
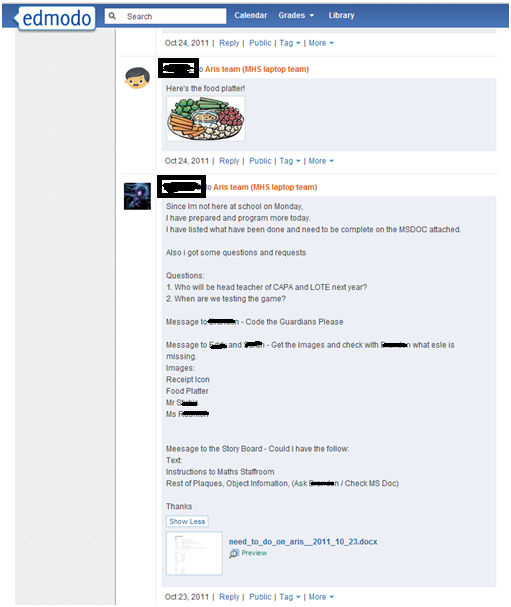
The students created the game from scratch, after a very brief training session with Macquarie ICT Innovations (MacICT). The students met face to face for 50 minutes a week and a lot of work was done outside of this time. Each student had a defined role in the team (programmer, narrative writer or media collector) and they had to constantly communicate with each other (face-to-face and on Edmodo) and complete their tasks according to a timeline, which was created by the students. There were times when one team could not continue their work because another team has not uploaded their work. In the beginning, I was the one that ensured students worked to the timeline, but overtime another student took on a leadership role and began coordinating the team. In the end, I had almost no input in the game and the students did it all themselves. It was fantastic!
From making this game, the students applied their literacy skills, team work skills, project management skills and problem solving skills. The way the students worked also reflected how adults worked in real-life in many businesses. Our face-to-face sessions began with each team stating where they were up to and the whole team uploading what their goals were for the session. Each team would then go off to do what they had to do. Some students stayed in the room to program the game or write narratives. Other students went around the school taking photos. Within the narrative writing team, all students wrote the narratives for the game and one student took the role of editor and made sure there were no spelling or grammatical mistakes. Based on the narrative, the media team created images or took photos. These were then passed onto the programmers who put everything together.
The testing phase of the game involved a lot of debugging. The game initially had lots of glitches and the team had to critically analyse which parts of the game were causing the glitches and how to fix them. This involved a lot of problem-solving skills where students had to undergo processes to isolate which component of the game that caused the glitch.
So after 5 months, the students succeeded in making the game. They created a game almost all by themselves with minimal help from teachers and developed some critical skills that they can carry through beyond their school years. Young people can rise up to the challenge and do amazing things! I am so proud of them.
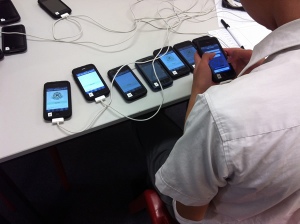
And thanks to MacICT for lending us the iPhones and their support throughout the game design process.

